7 tips to prepare for your newborn photography session
Lifestyle In-home Newborn Photography
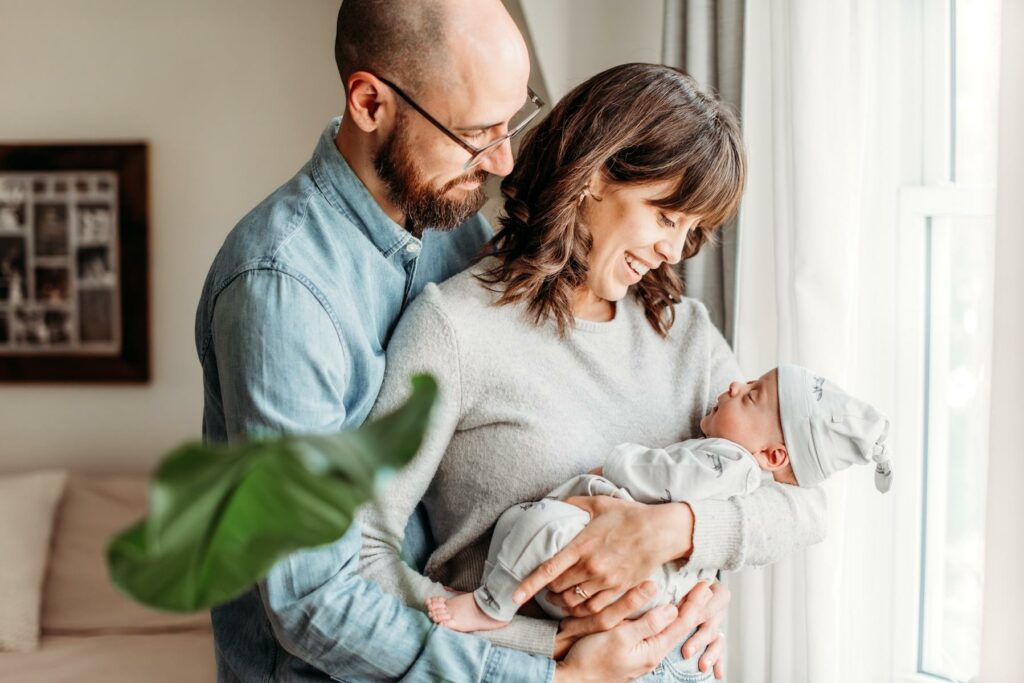
Congratulations on your baby!
To add a new family member is truly magical!
And if you are a new parent – welcome to the club!
The first weeks after your baby’s arrival are so busy and overwhelming. Birth recovery, new routines, and managing baby’s necessities take a lot of time and energy. No surprise that a clean and decluttered home becomes not so important – at least not in my family! Honestly, my house often looked like it was struck by a hurricane after our first baby was born. That happy event happened several years ago, and I am so glad that I have so many photographs to capture the memories.
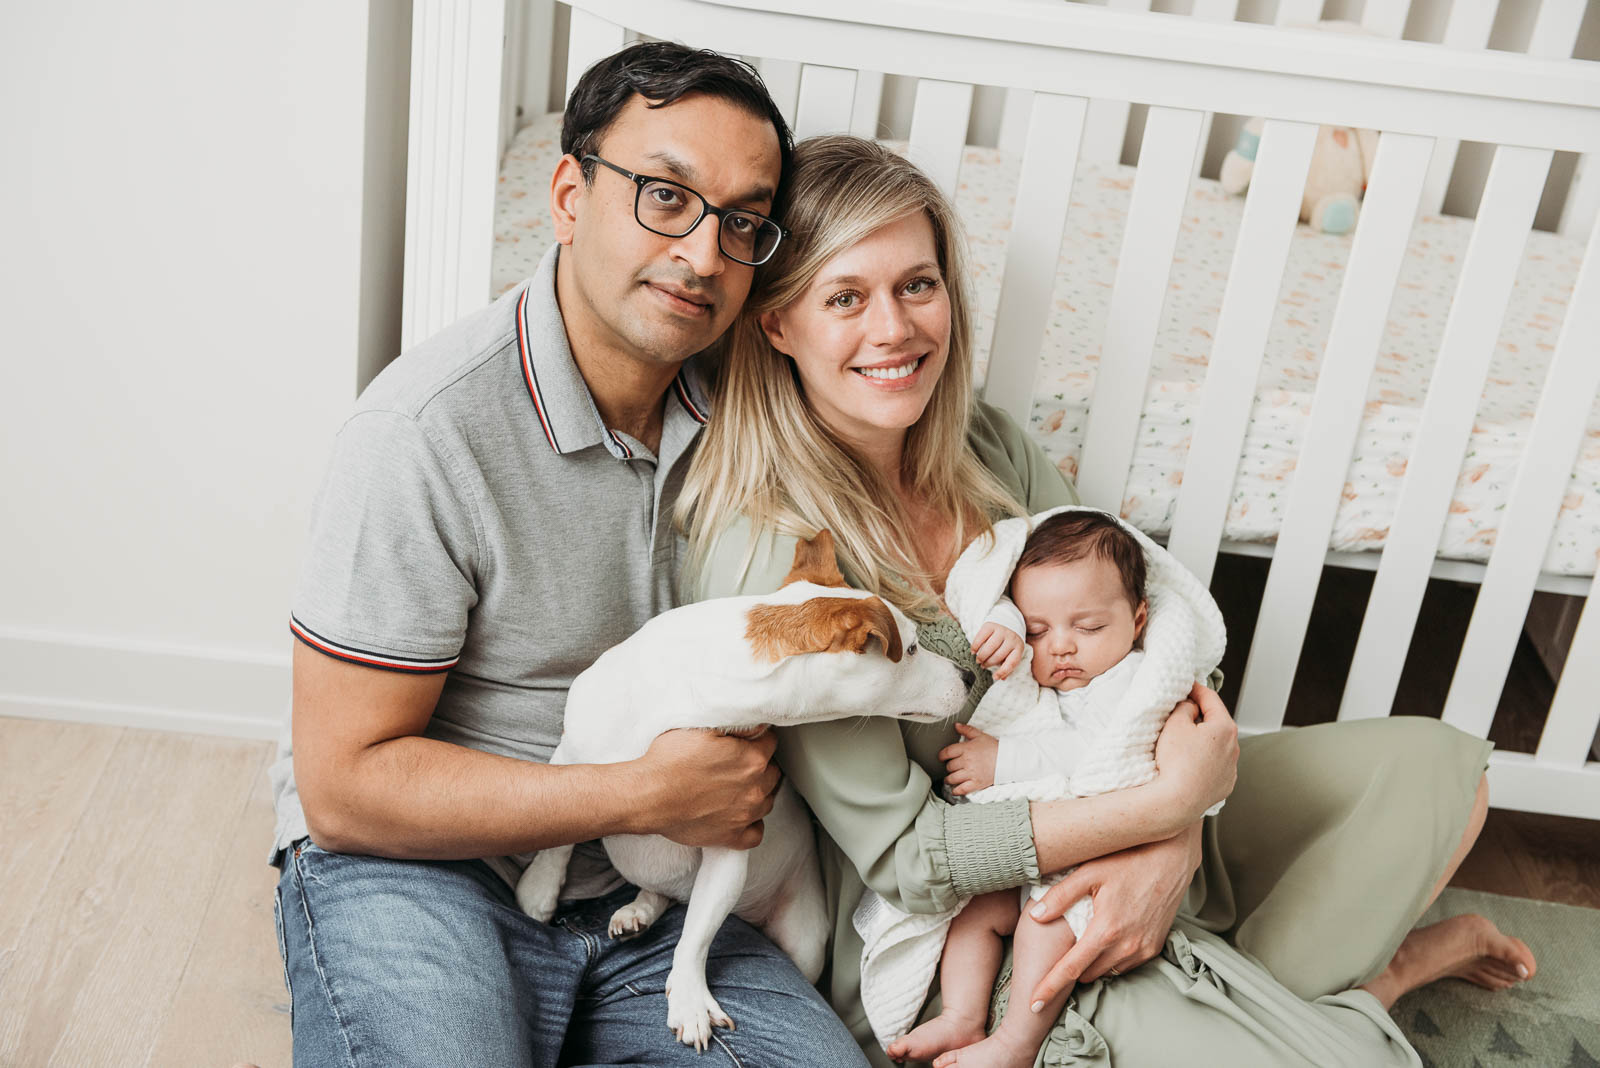
The good news for you is that I can photograph this magical time in the life, showing your growing family but not the imperfections of your home. Here are a few easy steps to get ready for a care-free and high quality lifestyle newborn photography session.
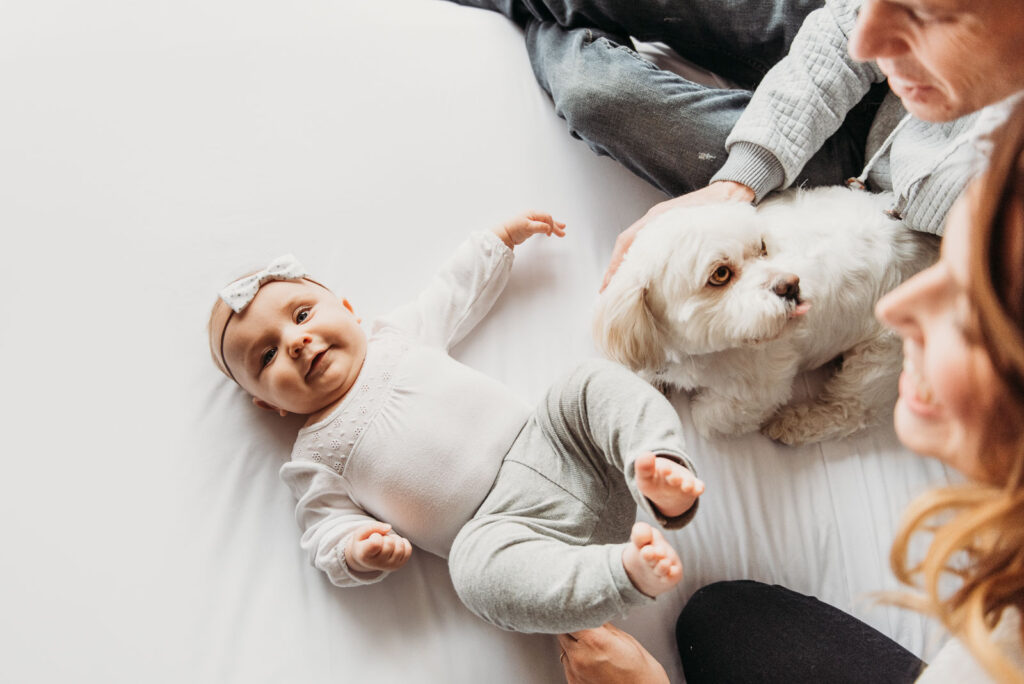
7 easy steps to Prepare for a photoshoot
1. Lighting audit
I am mostly a natural light photographer. I love natural light and I am thrilled to photograph in perfectly lit rooms. Many houses in Toronto don’t have enough natural light though. If your house is dark, it doesn’t mean we can’t have a successful lifestyle newborn photography session. One large window with a well lit area around it will suffice.
How to inspect your home if there is enough light for a photoshoot? Try walking around your home during morning and early afternoon hours to identify the brightest areas. It helps to open all curtains and blinds, of course. Ideally, I would prefer to photograph in the nursery, parents’ bedroom, and/or living room. I always ask my clients to send a few pictures of the rooms, so I can prepare better for the light situation in their home.
What if it’s a gloomy day and your space is dark? I am comfortable using speedlights and I will bring my lighting equipment with me.

2. Organizing the space
After the suitable photography spaces in your home are identified, try to declutter. Simply take away anything that you don’t want to be in your pictures. It could be clothing, cords, tissue boxes, etc. The easiest and fastest way to do it is to use a large diaper box. You can walk though your home and drop into the box anything you don’t want in your pictures. You don’t need to clean the rest of the house at all!
3. Consider your colors and textures
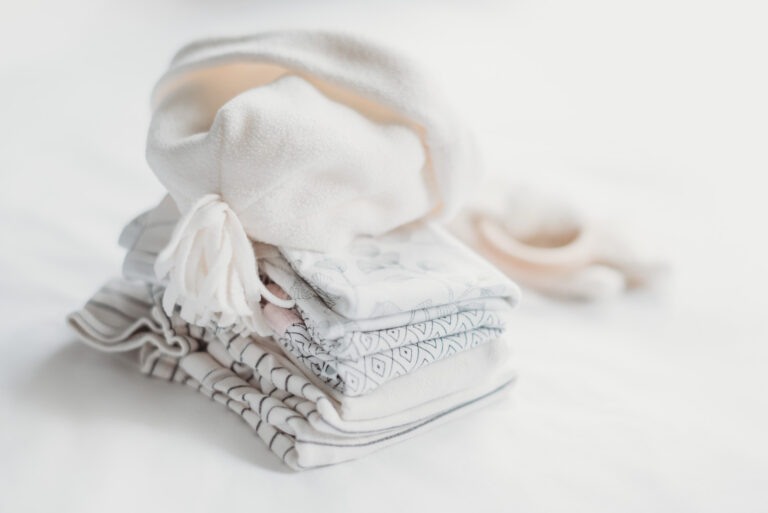
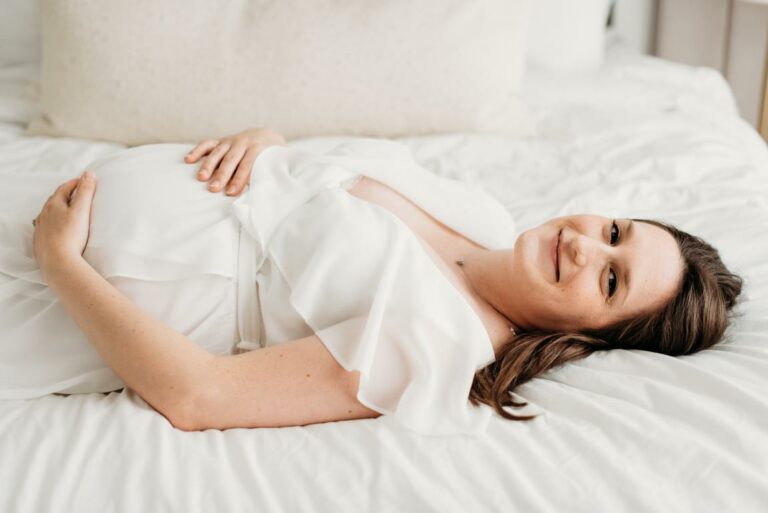
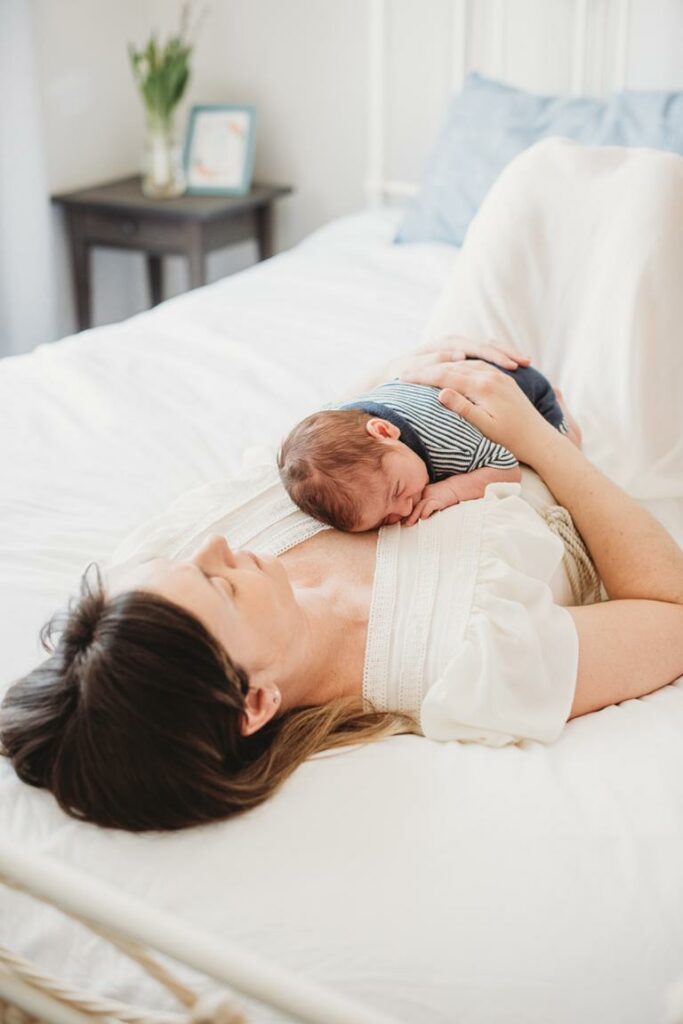
If you plan photography in your bedroom, white/neutral sheets and covers are good options for your bed. It can also be helpful to collect several blankets, receiving blankets, and throws for the session. In particular, throws with nice textures, and which are furry, solid, and neutral in color can be used as backdrops.


4. Wardrobe audit
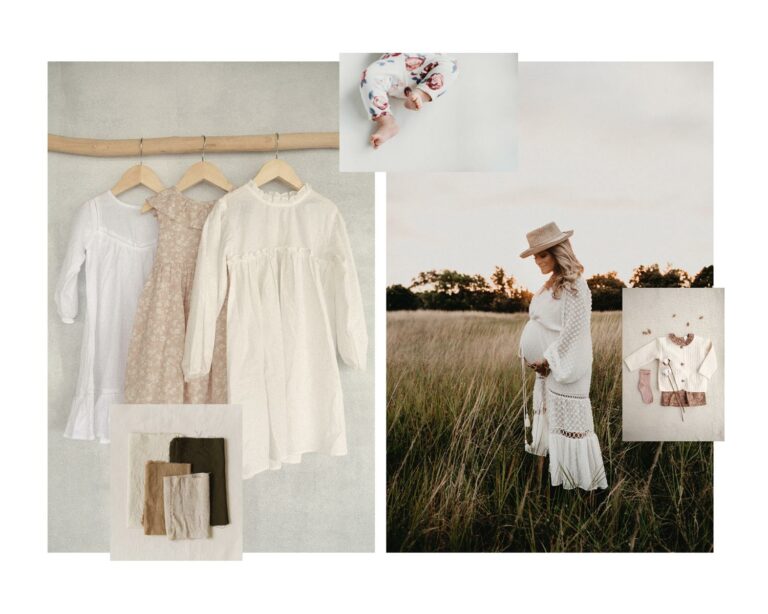
After your session is confirmed, I will send you my ‘What-to-wear-guide’. I suggest wearing light, comfortable and casual clothing ensembles, as per the following insights from my guide. If you have other preferences in mind, let’s discuss!
Color palette
A good starting point for coordination is to think about color palettes, to select from a group or groups of tones which speak to you and combine well. These groups could be neutrals, earth, or blue tones. Neutrals include light colors and soft tones like oatmeal, beige, gray, tan, and light brown, while earth tones are rich darker colors, and blue tones are cool colors. As a family, your outfits’ colors should complement, but not match. Please consider carefully whether outfits and colors work well together and also if they suit the environment.
Layers
Layering can look beautiful in photographs. Simple tops can be combined with textured overlays, such as a cardigan, a big open sweater or a kimono. Layering is a great for maternity shoots and post-partum.
Patterns
The face should be a highlight of a photo, and high contrast prints/patterns which draw attention from the face should be avoided. I prefer smaller patterns for this reason. Please avoid big logos and lettering on your clothing.
Baby clothes
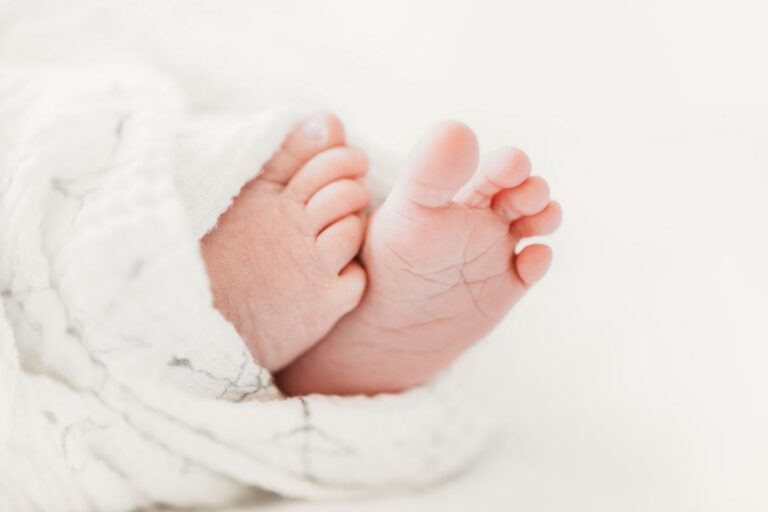
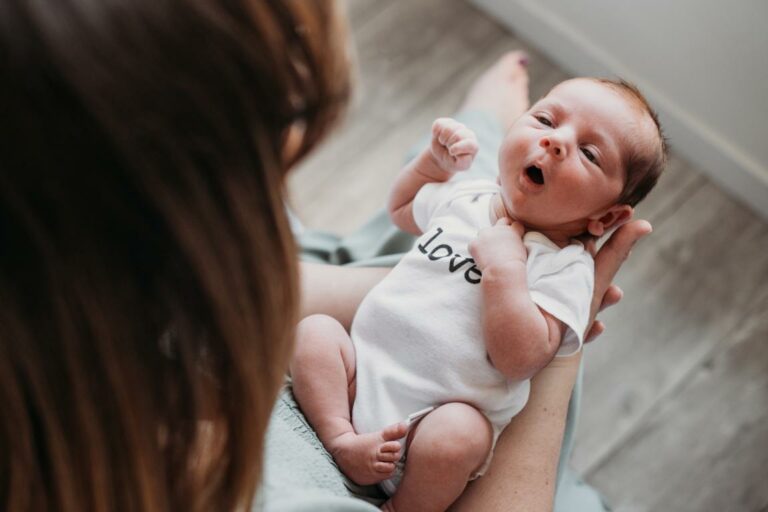
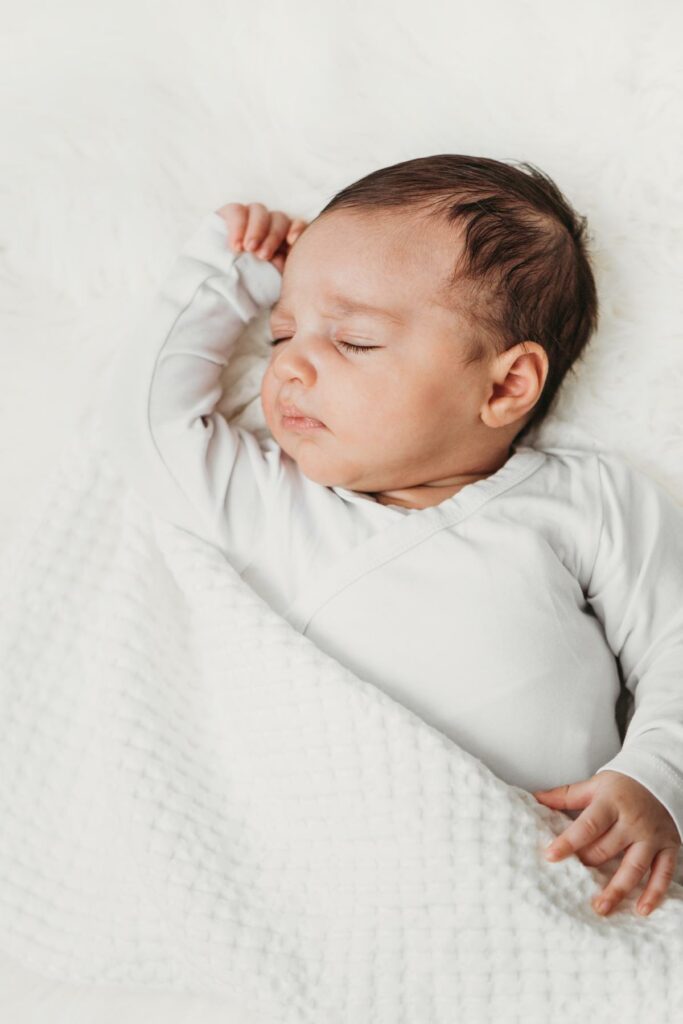
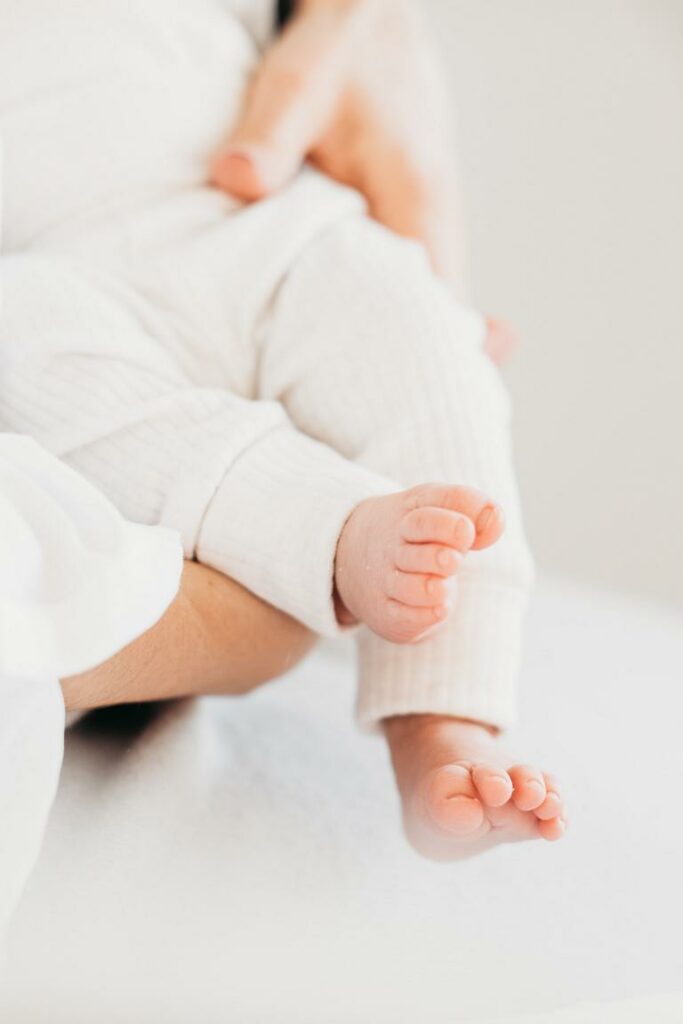
I recommend using preemie or newborn size clothing for newborns in the first two weeks, because baby clothing labeled 0-3 months are usually too big for newborns. A white or neutral onesie which doesn’t cover the baby’s feet (I want to photograph those tiny toes) is a good choice for a photo session.
5. Your personal touches
Let’s make your session more personal and meaningful. Some parents incorporate family items like an old baby blanket or toy from their childhood. Also, you can make your space more personal by including objects which bring you joy and are meaningful for you. For example, a bouquet of favorite flowers, a framed photo of your grandparents, or a cozy throw that you used on a romantic vacation are all very sentimental and nostalgic.


6. Right before the session
Help your baby to be more relaxed! Please heat your home well before the session, and particularly in the cold months. Feed the baby just before my arrival and try not to let them have a long nap beforehand.

7. During the session
Yes, a complete stranger with a camera will be following you in your house, but take a deep breath to relax, and just enjoy the moments! I do what I can to make the session more relaxing for you and your baby. My newborn sessions are baby-led. I follow your baby’s natural routine and take pictures of whatever baby is doing – stretching in your arms, yawning or snuggling. I will guide you through poses as necessary, and to the best available light and make sure we have perfect photographs full of love and connections. If you have toddlers or young kids, it’s ok if they behave like kids! It is a good idea to entertain them with some activities, like reading a book or making a puzzle so that they can calm down and cooperate as well as they can.

Preparing for your in-home newborn photography session will be less stressful if you think about these seven steps in advance, and take them one step at a time. No doubt, I can help. I have a lot of experience cleaning up following my children’s hurricanes! Maybe I even use my muscles to move things around during the session, and make your life a bit easier!
Looking for a newborn photographer in Toronto?
